A friend of mine (not to mention world traveler, master educator, keynote speaker, master photographer) once said in one of his photography workshops, that there was a difference between TAKING a picture and MAKING a picture. It’s the reason for the title of this blog article. I struggled between “The Process..” and “A Process..” The rolled better though it is not the more accurate phrasing. Each photograph that I publish on Facebook, Instagram, Flickr or that I choose to print, is developed by a process that depends on the particular challenges it presents and the outcome that I am working toward. So the follow is the process for making a particular picture of a Great Blue Heron.
| 1. |
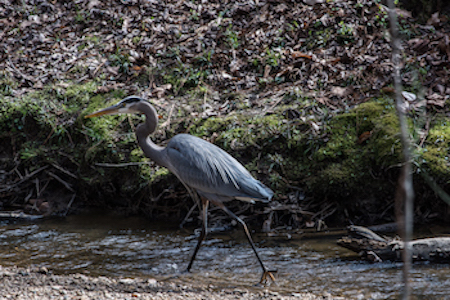
First is the original photo that I took while walking along the Mine Creek Trail, part of the Capital Area Greenway in Raleigh. This is one of about 20 photos taken as I followed the bird trying to get clear shots through the trees and other growth between us. Of those, I picked images to post process based on classic and also unique positions or postures. This one I liked because of the classic posture, but also the motion that the rising left leg implied. |
 |
| 2 | 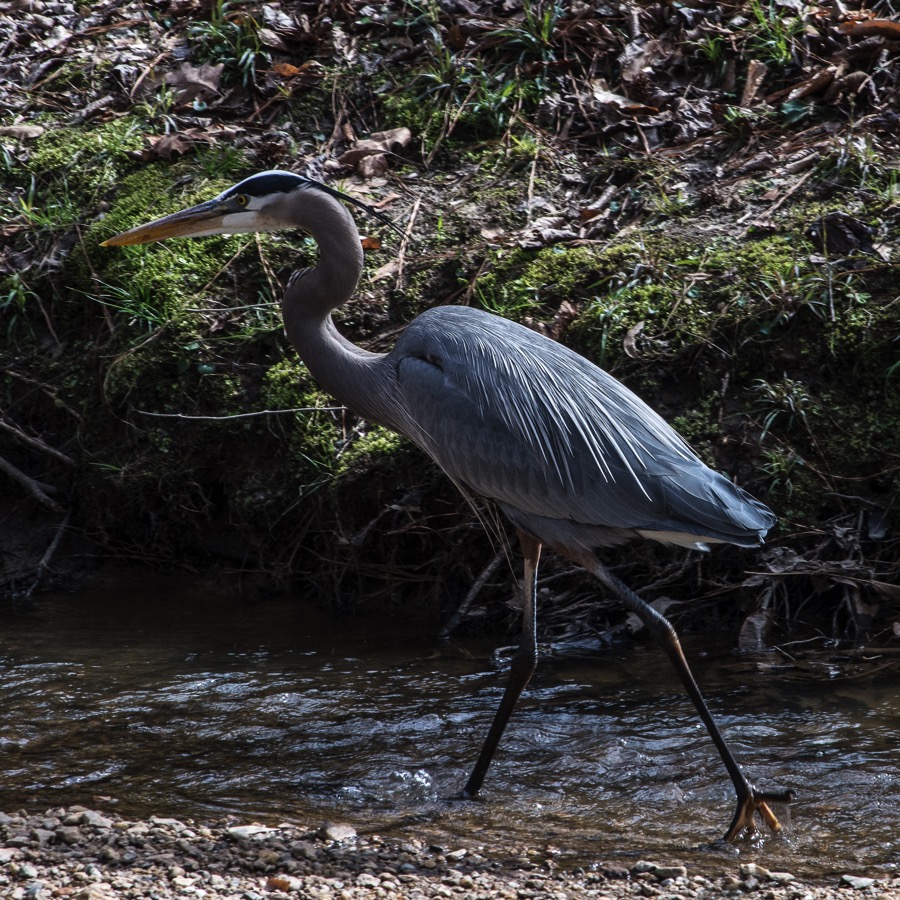 . . |
This is a fine snapshot of a Great Blue Heron. However, I want to celebrate its Heron-ness, and there is too much distracting space in the photo that prevents the viewer to from subject. So I use Lightroom to crop the photo down to a 1×1 ratio, a square. |
| 3. |
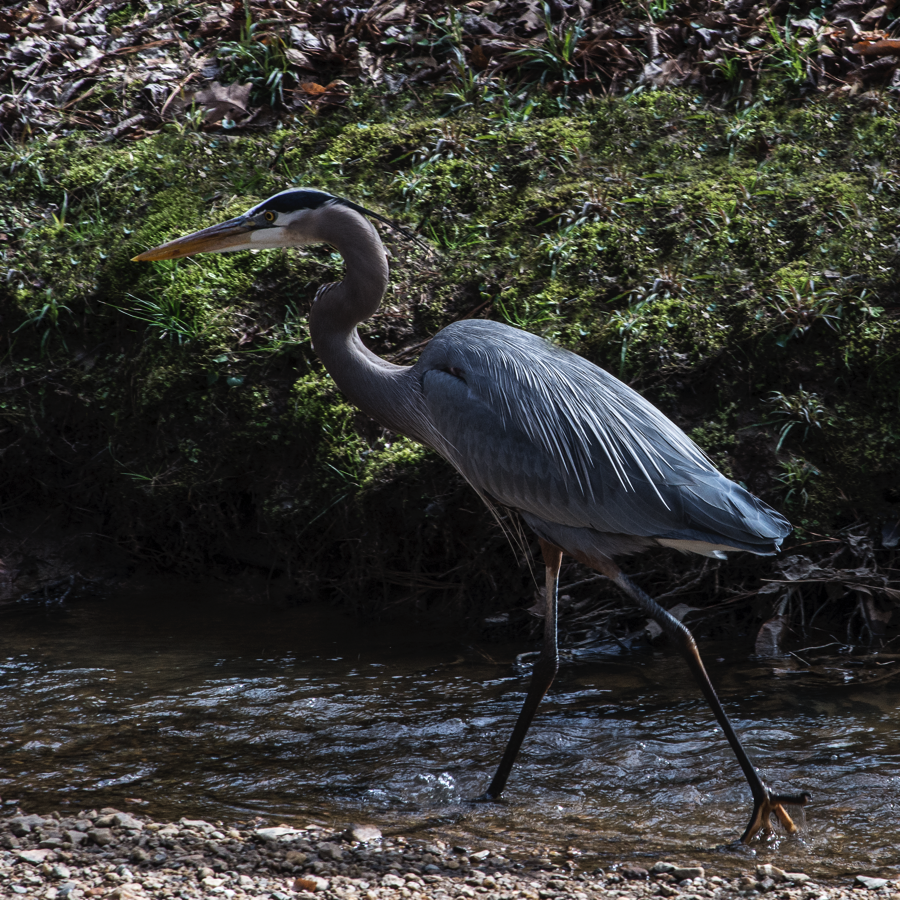
There is still too much activity around the bird that is distracting. It is mostly the leaves and pine needles. So I load the image into Photoshop and use the healing tool to remove them. Sounds like magic? The software takes a marked object find imagery near it that matches its surrounding and then stamps that over the object. I also used the healing tool to enlarge the surface of the moss. |
 |
| 4. | 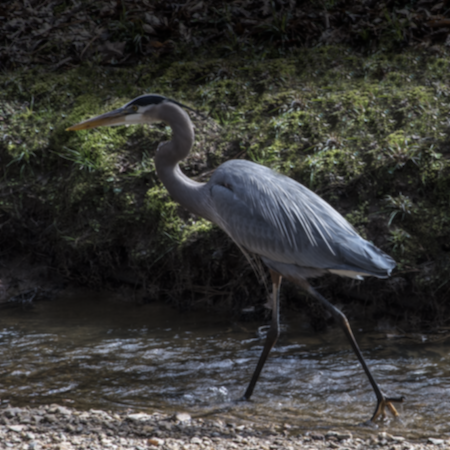 |
In image four, I have used a blurring filter in Photoshop to make the background less interesting / less distracting. This probably seems strange since I blurred the entire image. But that’s going to be fixed by one of the coolest tools at the photographers fingertips. |
| 5. |
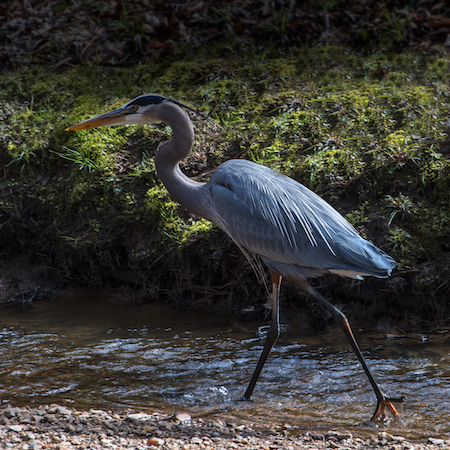
Before blurring the image (4), I had made a copy of the clearer version. These two versions were layered on top of each other. Of course, the layers top is what I saw and would would be saved. To re-clarify the parts of the image that I did not want blurred, I created a mask. This is essentially an additional layer that is all white. The white doesn’t show. However, any part of the mask layer that is painted black essentially creates a hole through which the layer beneath shows. So using a black digital paint brush I painted the rocks, water, under wash of the bank and part of the moss. Then I carefully painted in the bird’s head and neck so that they would be detailed. What’s cool about this process is that if you make a mistake and blacken too much, then you simple fix your mistake by painting the problem white. |
 |
| 6. | 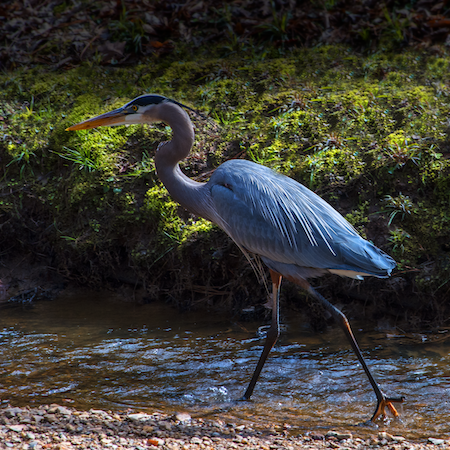 |
In image six, I wanted to punch up parts of the image with more color. To do this, duplicated my working layer and then turned up the color saturation on the layer beneath. |
| 7. | For seven, I asked the top, less colorful layer and then I painted through only the parts I wanted to increase the color for – the rocky sandbar and the bird. | 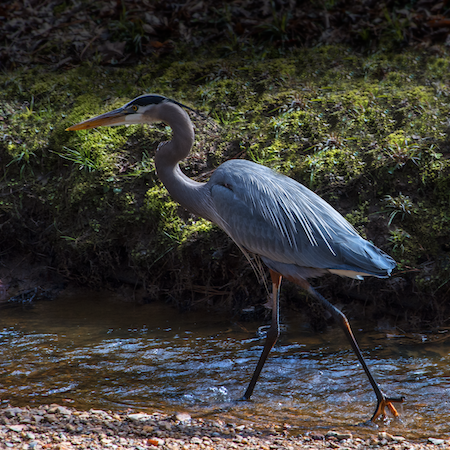 |
| 8. | 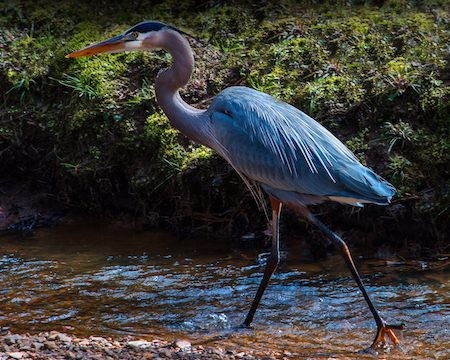 |
For image eight, I didn’t like the dark area at the top, so I cropped that out. |
| 9. | I’m close now, simply fixing small things that bother me, such as the unexplainable dark area in the top left corner. So for version nine, I used the healing tool to bring in some more moss. I also made a duplicate layer, increasing the exposure on the bottom layer, making it brighter. Finally, I used the masking tool to paint in the parts of the bird that I wanted to brighten up. I also decreased the color saturation after bringing it back into Lightroom, to make it a little more real. | 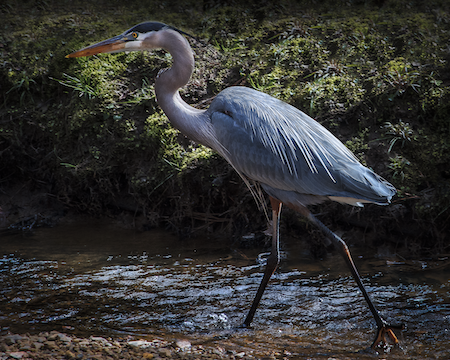 |
Like so many things, you are never done. There is always something else you can do to make it better, especially when you come back to it hours or days later. But typically, I am done when the photo interests me, when I’ve come close to capturing what it was that inspired me to take the picture.

Being a photography instructor I can relate to your post. I always find myself coaching students to make the most of their subjects through composition, lighting, and of course in post-process. I also tell my students that they need to train their eye and use technical knowledge to take their best photo that needs as little post-processing as possible. If I find myself saying “I can Photoshop that” for every photo, then I feel I have failed the subject; I will admit I am a bit of purist when it comes to photography and prefer to work with only natural light. While these standards can be limiting and a very much an ideal, our work is never perfect and no matter how much knowledge and skill we may have, we still need to concede to the reality and use the tools available to us to make the best of all situations.
Being an educator, I also relate your post to the classroom, we come up with the perfect lesson, great examples, a wonderful demo, and then the assignment comes and students run into snags due to a simple detail, or the order in which I instructed them to follow. I did everything in my skill set to “take” the lesson, but after the feedback, I then need to learn how to “make” the lesson.
All too often teachers think that just by following a curriculum they will get the outcome they are looking for, but as a photographer and educator, I know that we always need to work with our subjects, tweak our process and continue to push ourselves to “make” our lessons and photos pop. Being a life-long learner is a very integral part of this process and we need to reach out to resources (awesome blogs like your own), people (mentors), and deep within minds to continue to strive to get the most out of ourselves and others.
Thank you for your post and I hope that you continue to learn and grow as a photographer, Photoshop-er, educator and blogger (man, that’s a lot of hats!).
Keep Doing What You Do!
Raul R Perez